6.1 KiB
The Web Remote
OpenLP gives you the ability to control the creating_service. You also
have the ability to search for and add or display media from the your
media-manager or send
an alerts, using a
remote computer, netbook or smartphone and a web browser. You can use
the web remote as an interface to control the whole service away from
the main computer or have the nursery or daycare send an alerts message to the
projection screen. This could also be used for a guest speaker or
worship team leader to control their own slides if needed.
The first step is to make sure the Remote plugin is activated. You
can accomplish this here: plugin_list. The second step is to configure the
settings you will use with the web browser. You can find these
instructions and settings here: remote_tab.
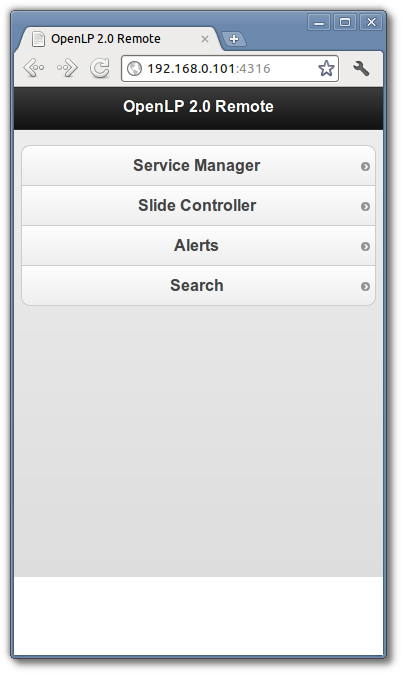
Open your favorite web browser and type in the Remote URL you found
in remote_tab. For this
example we will use http://192.168.0.101:4316 and then press the Enter key. You will be
presented with the home page of the OpenLP Remote.
Service Manager
Clicking on Service Manager will display the service item
list from the creating_service.
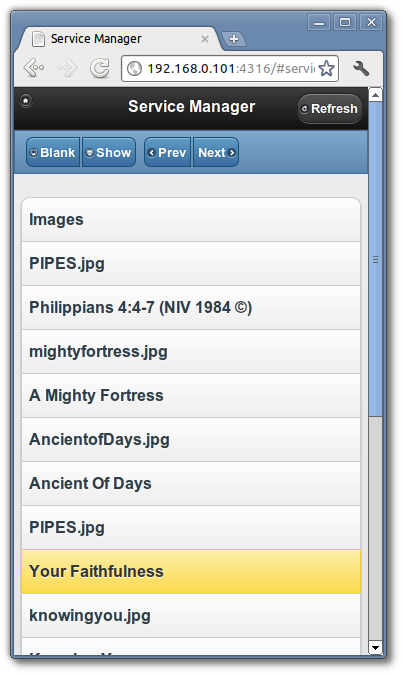
Clicking on any item in the Service Manager will immediately take you to the Slide Controller.
You will find the following buttons throughout the web remote interface.
The home button is found on most of the pages in the top left hand corner of the remote interface and clicking it will take you back to the home page of the OpenLP remote.
When changes are made on the main computer clicking on refresh will show the changes in the remote viewer.
Clicking this button will blank the display on the projector screen. Clicking on an item in the Service Manager will automatically show the item on the screen.
If the screen is blanked, clicking on this button will unblank the display.
This button will move you upward through the Service Manager and Slide Controller.
This button will move you downward through the Service Manager and Slide Controller.
Note: The buttons Blank, Show, Prev and Next are conveniently located on the top and the bottom of the remote interace to help eliminate scrolling.
Slide Controller
After you click on an item in the Service Manager you will be taken to the Slide Controller interface.
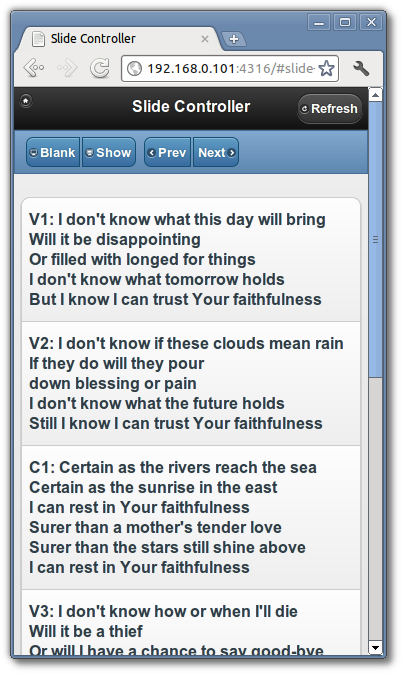
You will find the verses displayed as they appear in the live view on
the main computer and the first verse will be displayed on the
projection screen. You can use the Prev, Next or click on each verse using the mouse to
display them.
Note: The remote interface replicates the OpenLP software. When displaying images, clicking on a single image in the service manager will display it immediately. The first image in a group of images and the first slide in a presentation will also be displayed immediately when clicked on in the web remote service manager.
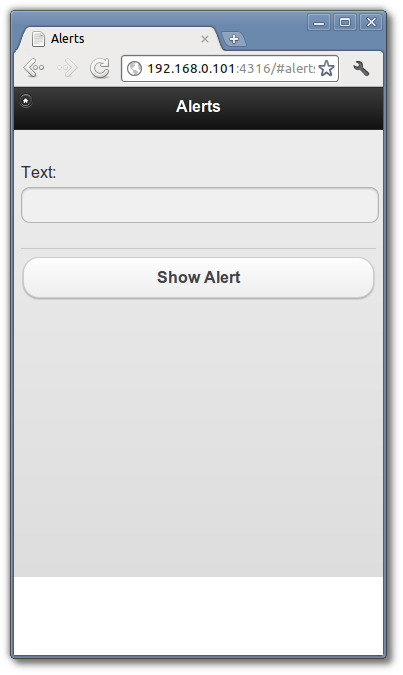
Alerts
You can send an alert to the projection screen by entering the text
in the box and clicking on Show Alert. The alert will be displayed as you
have it configured in configure_alerts.
Search
Using the search function gives you the ability to search for a particular media, add it to the service or display it immediately.
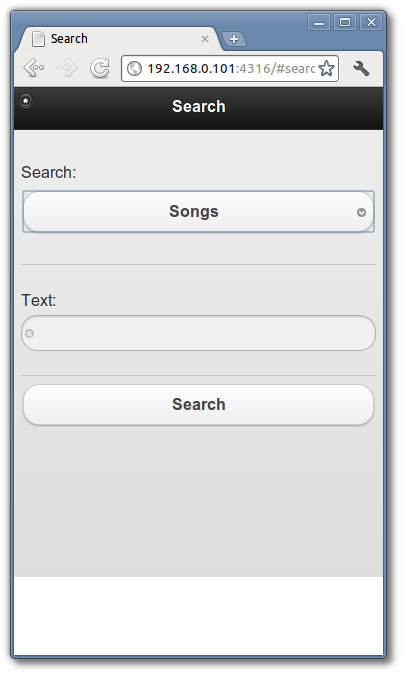
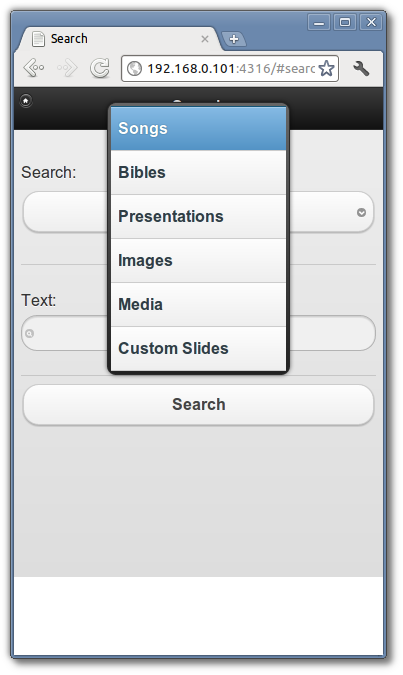
Clicking on Songs will display your media options to search
through. Click on the media you want to search.
Enter the text you want to search for. You can click Search or press Enter on your keyboard. If
you do not enter any text to search for, you will be presented with your
entire list of media for the selected media.
Note: When searching Bibles media you must enter the exact name,
chapter, verse or verses. Searching Songs will search titles and lyrics with the text
used.
For this example we are searching "Songs" and the word "Jesus". The results will be displayed under the search button.
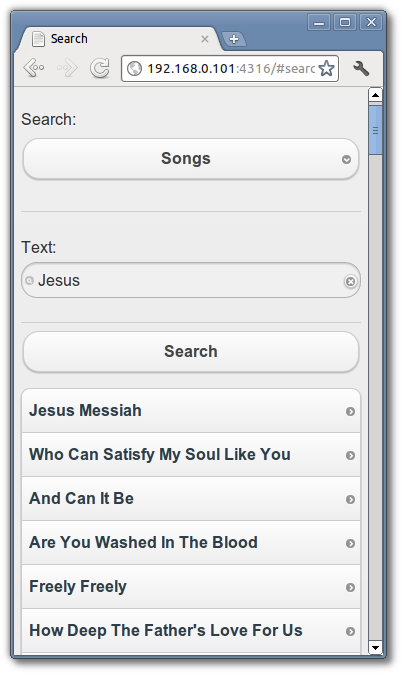
After finding the song you searched for, clicking on the song will bring up the next screen.
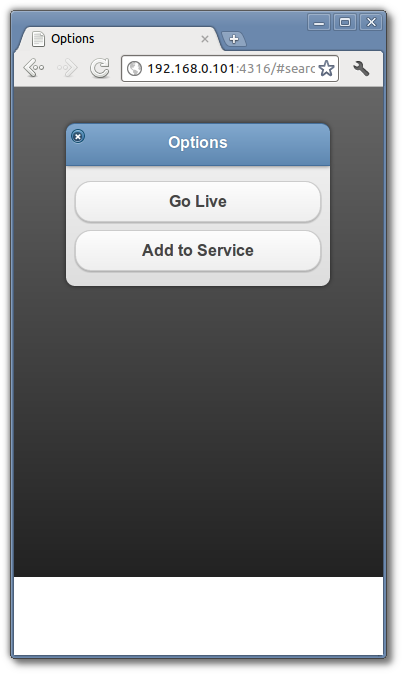
Click on Go Live to immediately display your media on the
projection screen. Click on Add to Service to add your media to the bottom of
the creating_service.
Stage View
Stage view gives you the opportunity to set up a remote computer,
netbook or smartphone to view the creating_service being displayed in an easy to read
font on a black background. This is a text only viewer.
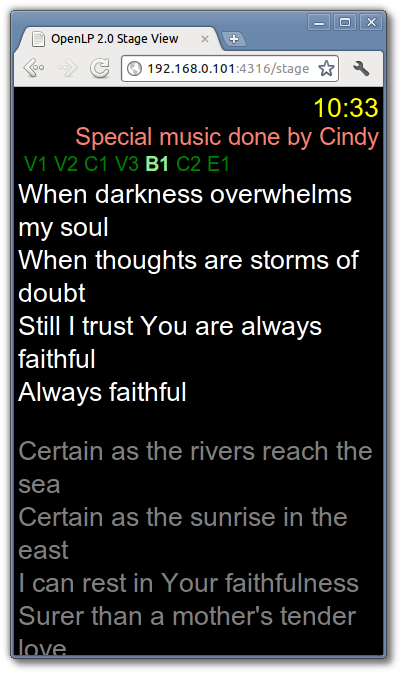
At the top right hand side you will see the time of day. This can be
changed from 12 hour to 24 hour format in remote_tab. If you added a note to the the song it
will be the next line under the time. See adding_note for adding notes. Under the note will be
the Bible or song verse numbers and one of those will be highlighted.
The lyrics or verses highlighted below the verse numbers correspond to
the highlighted verse number.
If there is an image, presentation or media being displayed you will
see the title of the displayed item. Under the title will show the next
item to be displayed in the creating_service.
