11 KiB
Configuring OpenLP
OpenLP has many options you can configure to suit your needs. Most options are self-explanatory and we will quickly review them.
To configure OpenLP, click on Settings --> Configure OpenLP...
The plugins you have activated will have configure options. If all the plugins are activated there will be 9 tabs across the top you can configure.
General Tab
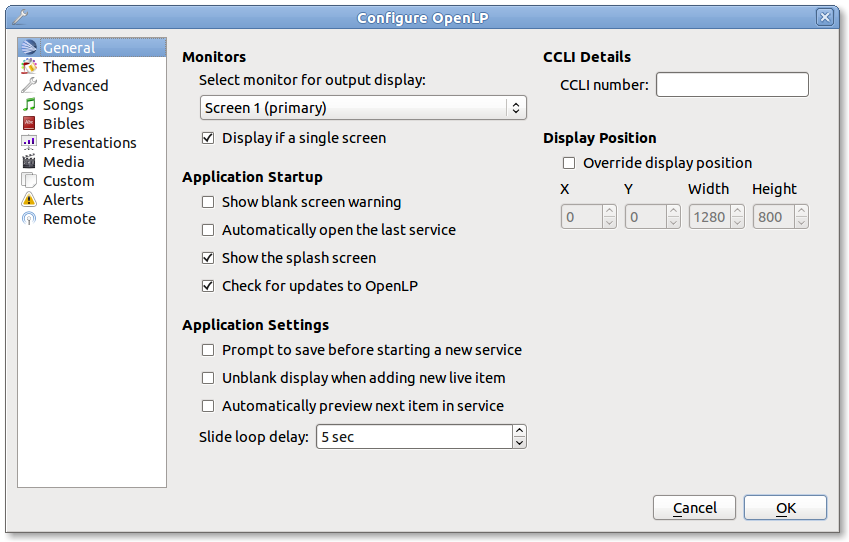
Monitors
To select the monitor you want to display OpenLP on, click the drop-down box and choose.
Display if a single screen
When this box is selected, you will be able to see your display on a separate window on the monitor you are using. Click the display and push the Esc key on your keyboard to close the display window.
Application Startup
Show blank screen warning:
When this box is selected, you will get a warning when opening OpenLP that the output display has been blanked. You may have blanked it and shut down the program and this will warn you it is still blanked.
Automatically open the last service:
When this box is selected, OpenLP will remember the last service you were working on when you closed the program.
Show the splash screen:
The OpenLP logo is displayed while OpenLP loads when this checkbox is checked. This is useful to give some indication that the program is loading.
Check for updates to OpenLP
OpenLP will check to see if there is a newer version available on a regular basis when this checkbox is checked. Please note that this requires Internet access.
Application Settings
Prompt to save before starting a new service
When this box is selected, OpenLP will prompt you to save the service you are working on before starting a new service.
Automatically preview next item in service
When this box is selected, the next item in the Service Manager will show in the Preview pane.
Unblank display when adding new live item
When using the blank to button with this checkbox checked, on
going live with the next item, the screen will be automatically
re-enabled. If this checkbox is not checked you will need to click the
blank to button
again to reverse the action.
Slide loop delay
This setting is the time delay in seconds if you want to continuously loop images, verses, or lyrics. This control timer is also accessible on the "live toolbar.
CCLI Details
CCLI number
If you subscribe to CCLI, this box is for your License number. This number is also displayed in the Song Footer box.
Display Position
This setting will default to your computer monitor. It will override the output display combo box. If your projector display is different, select the Override display position and make the changes here to match your projector display. This option also comes in handy when you have the "Display if a single screen" box selected. You can make the display smaller so it does not cover your whole screen.
Themes Tab
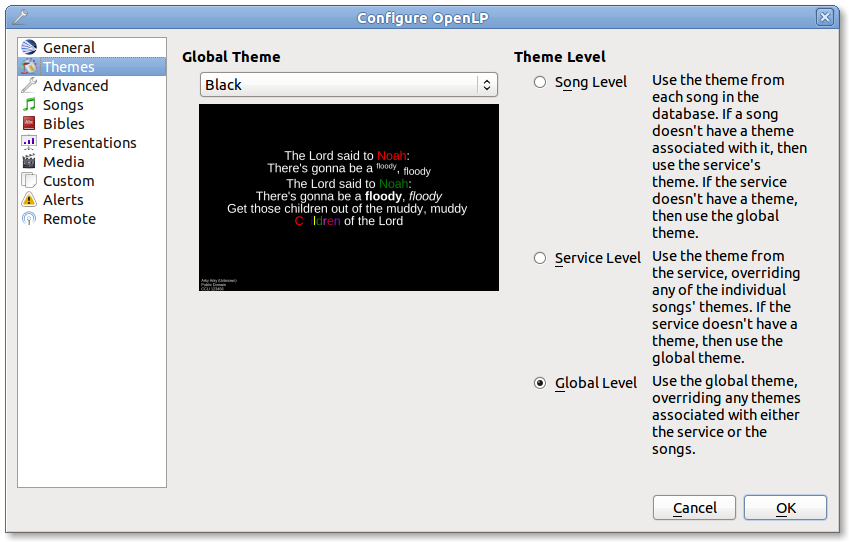
Global Theme
Choose the theme you would like to use as your default global theme from the drop down box. The theme selected appears below. The global theme use is determined by the Theme Level you have selected.
Theme Level
Choose from one of three options for the default use of your theme.
Song Level:
With this level selected, your theme is associated with the song. The theme is controlled by adding or editing a song in the Song editor and your song theme takes priority. If your song does not have a theme associated with it, OpenLP will use the theme set in the Service Manager.
Service Level:
With this level selected, your theme is controlled at the top of the Service Manager. Select your default service theme there. This setting will override your Song theme.
Global Level:
With this level selected, all songs and verses will use the theme selected on the left in the Global Theme drop down.
Advanced Tab
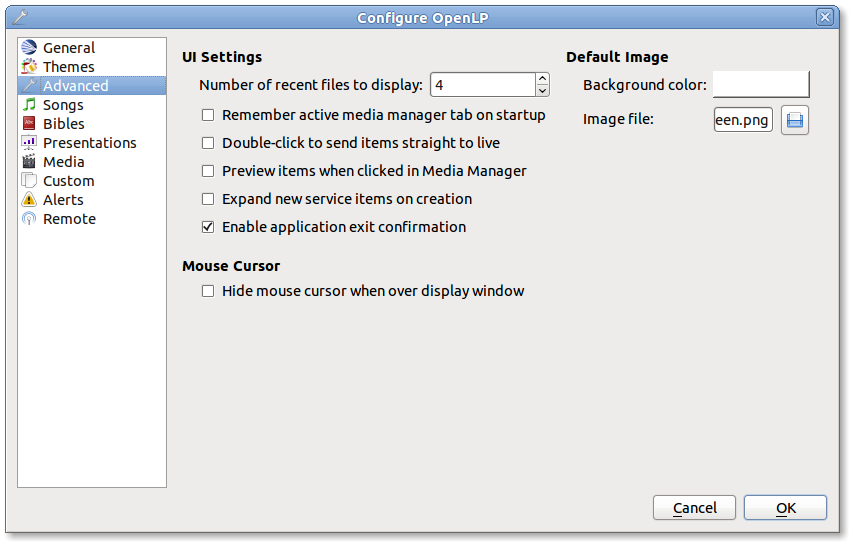
UI Settings (user interface)
Number of recent files to display:
Set this number for OpenLP to remember your last files open. These will show under File.
Remember active media manager tab on startup:
With this box selected OpenLP media manager will open on the same tab that it was closed on.
Double-click to send items straight to live:
With this box selected, double-clicking on anything in the Media Manager will immediately send it live instead of to Preview.
Expand new service items on creation:
With this box selected, everything you add to the Service Manager will be expanded so you can see all the verses, lyrics and presentations, line by line. When you open OpenLP, everything will automatically be expanded in the Service Manager.
Songs Tab
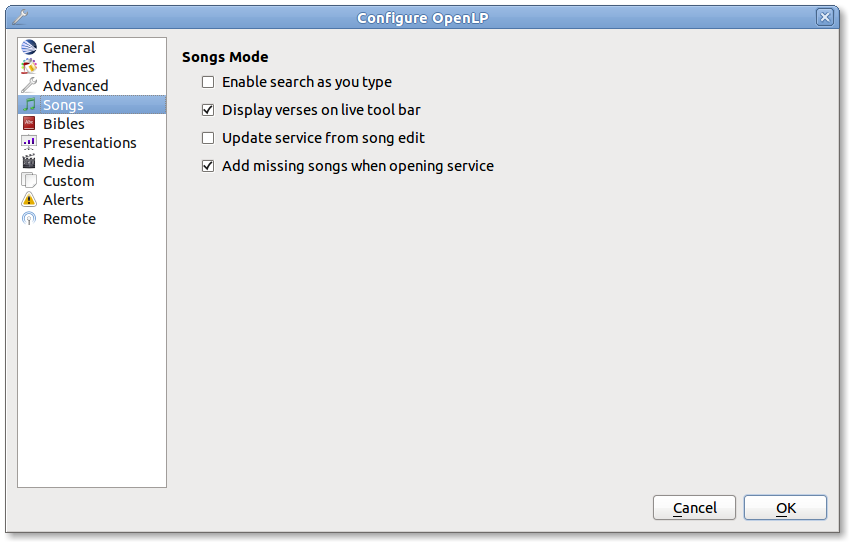
Songs Mode
Enable search as you type:
With this box selected, Media Manager/Songs will display the song you are searching for as you are typing. If this box is not selected, you need to type in your search box and then click on the Search button.
Display verses on live tool bar:
With this box selected, a Go To drop down box is available on the live toolbar to select any part of the verse type you want displayed live.
Update service from song edit:
With this box selected and you edit a song in the media manager, the results will also change the song if it is added to the Service Manager. If this box is not selected, your song edit changes will only be available in the Service Manager if you add it again.
Add missing songs when opening service:
With this box selected, when you open an order of service created on another computer, or if one of the songs are no longer in your Media Manager, it will automatically enter the song in your Songs Media Manager. If this box is not checked, the song is available in the service but will not be added to the Media Manager.
Bibles Tab

Verse Display
Only show new chapter numbers:
With this box selected, the live display of the verse will only show the chapter number and verse for the first verse, and just the verse numbers after that. If the chapter changes, the new chapter number will be displayed with the verse number for the first line, and only the verse number displayed thereafter.
Display style:
This option will put brackets around the chapter and verse numbers. You may select No Brackets or your bracket style from the drop down menu.
Layout style:
There are three options to determine how your Bible verses are displayed.
Verse Per Slide will display one verse per slide. Verse Per Line will start each verse on a new line until the slide is full. Continuous will run all verses together separated by verse number and chapter if chapter is selected to show above.
Note: Changes do not affect verses already in the service.
Display second Bible verses:
OpenLP has the ability to display the same verse in two different Bible versions for comparison. With this option selected, there will be a Second choice in the Bible Media Manager to use this option. Verses will display with one verse per slide with the second Bible verse below.
Bible theme:
You may select your default Bible theme from this drop down box. This selected theme will only be used if your Theme Level is set at Song Level.
Note: Changes do not affect verses already in the service.
Presentations Tab
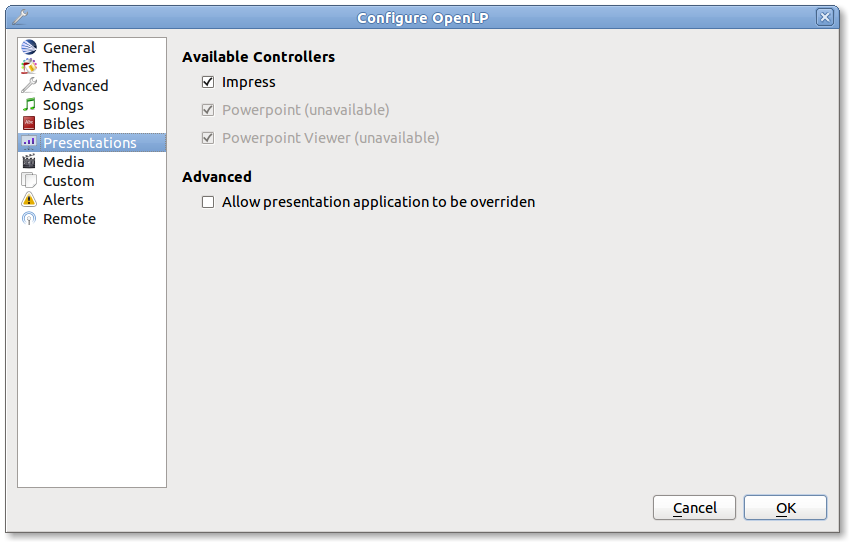
Available Controllers
OpenLP has the ability to import OpenOffice Impress or Microsoft PowerPoint presentations, and use Impress, PowerPoint, or PowerPoint Viewer to display them and they are controlled from within OpenLP. Please remember that in order to use this function, you must have Impress, PowerPoint or PowerPoint Viewer installed on your computer because OpenLP uses these programs to open and run the presentation. You may select your default controllers here in this tab.
Advanced
Allow presentation application to be overridden
With this option selected, you will see Present using area with a dropdown box on the Presentations toolbar in Media Manager which gives you the option to select the presentation program you want to use.
Media Tab
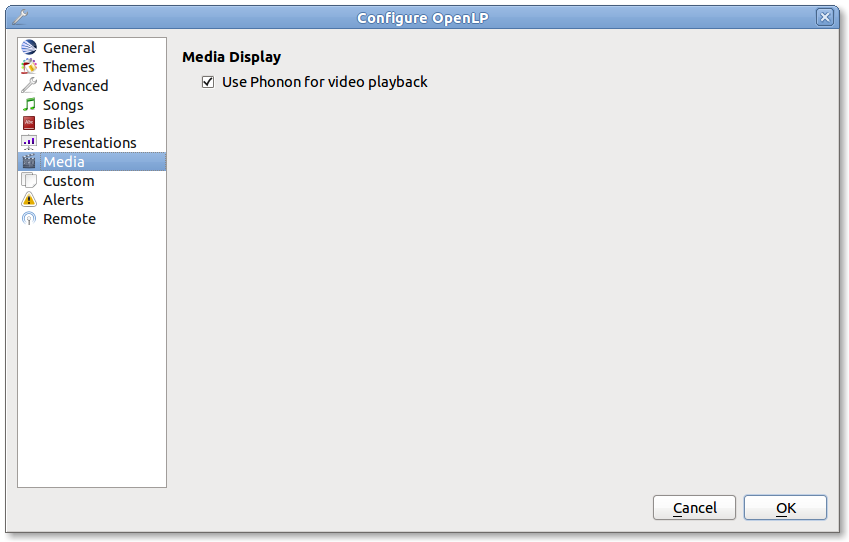
Media Display
Use Phonon for video playback
If you are having trouble displaying media, selecting this box could help.
Custom Tab:
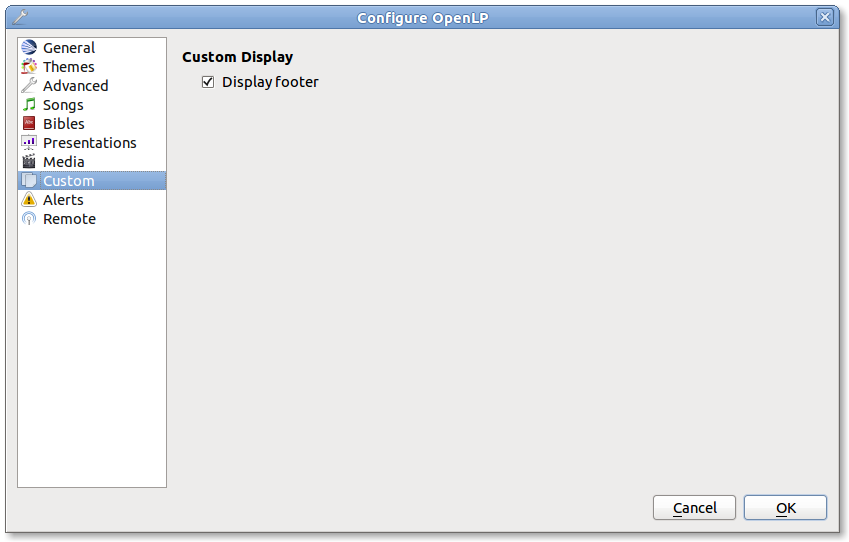
Custom Display
Display Footer
With this option selected, your Custom slide Title will be displayed in the footer.
Note: If you have an entry in the Credits box of your custom slide, title and credits will always be displayed.
Alerts Tab
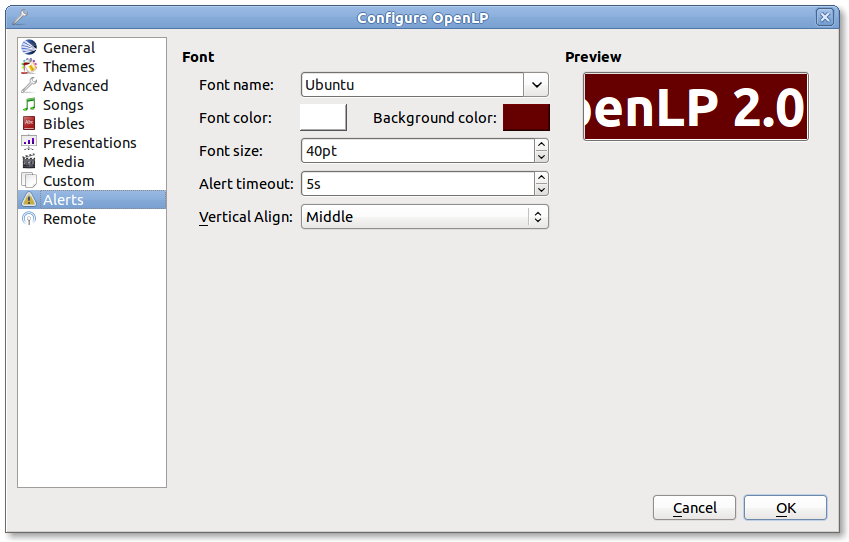
Font
Font name:
Choose your desired font from the drop down menu
Font color:
Choose your font color here.
Background color:
Choose the background color the font will be displayed on.
Font size:
This will adjust the size of the font.
Alert timeout:
This setting will determine how long your Alert will be displayed on the screen, in seconds.
Location:
Choose the location where you want the alert displayed on the screen, Top, Middle or Bottom.
Preview:
Your choices will be displayed here.
Remote Tab
OpenLP gives you the ability to control your Service Manager from a remote computer through a web browser. This was written actually for a nursery or day care where a "come and get YYYY" message could be triggered remotely. It has now become an interface to control the whole service remotely.
An example of one use for this would be if you have a missionary with a PowerPoint presentation, it may be easier for that missionary to remotely connect to your projection computer and change the slides when he wants to.
To use this feature you will need to be on a network, wired or wireless, know the IP address of the projection computer and enter that IP address and port number in the remote computer's web browser.
To find your projection computer's IP address for Windows, open Command Prompt and type in “ipconfig” (without quotations), press Enter key and your IP address will show. In Linux, open Terminal and type “ifconfig” (without quotations), and use the IP address after “inet addr:” The IP address will always have a format of xxx.xxx.xxx.xxx where x is one to three digits long.
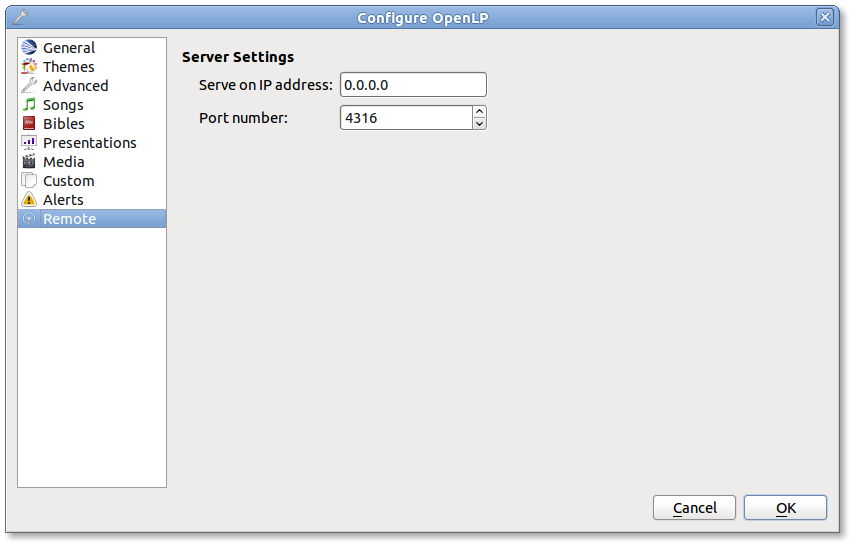
Server Settings
Serve on IP address: Put your projection computer's IP address here.
Port Number
You can use the default port number or change it to another number.
With these two settings written down, open a web browser in the remote computer and enter the IP address followed by a colon and then the port number, ie: 192.168.1.104:4316 then press enter. You should now have access to the OpenLP Controller. If it does not come up, you either entered the wrong IP address, port number or one or both computer's are not connected to the network.